|
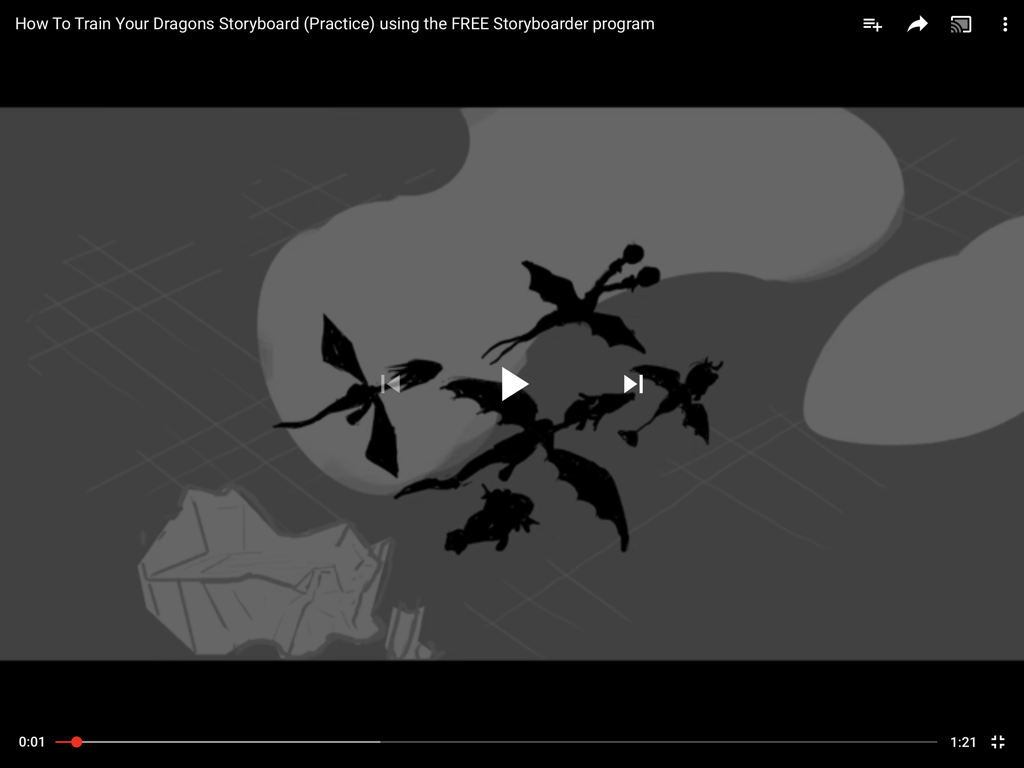
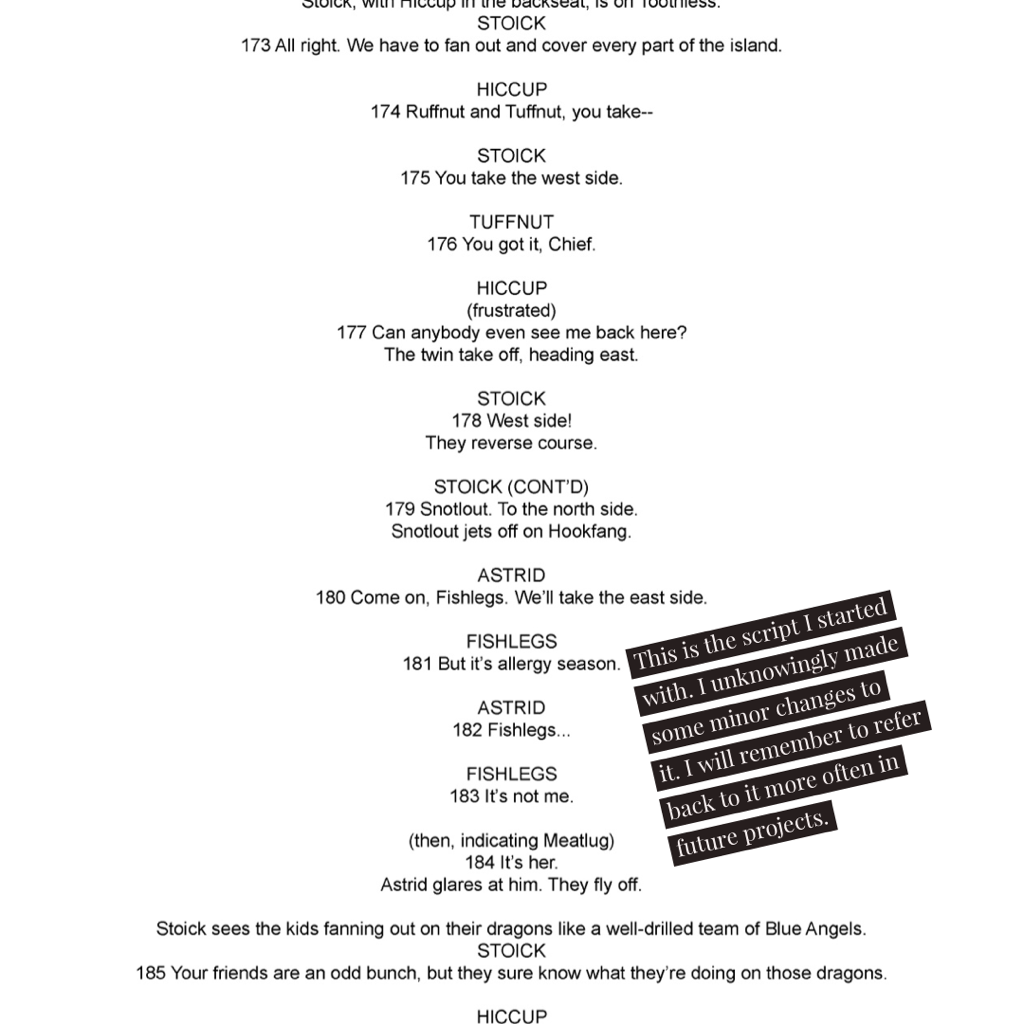
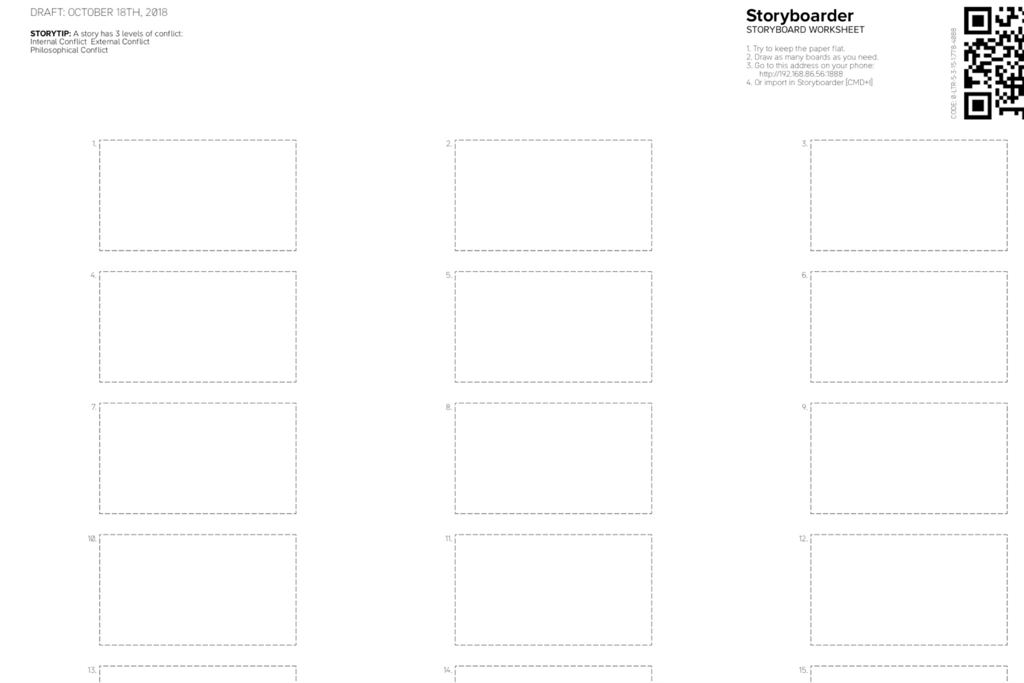
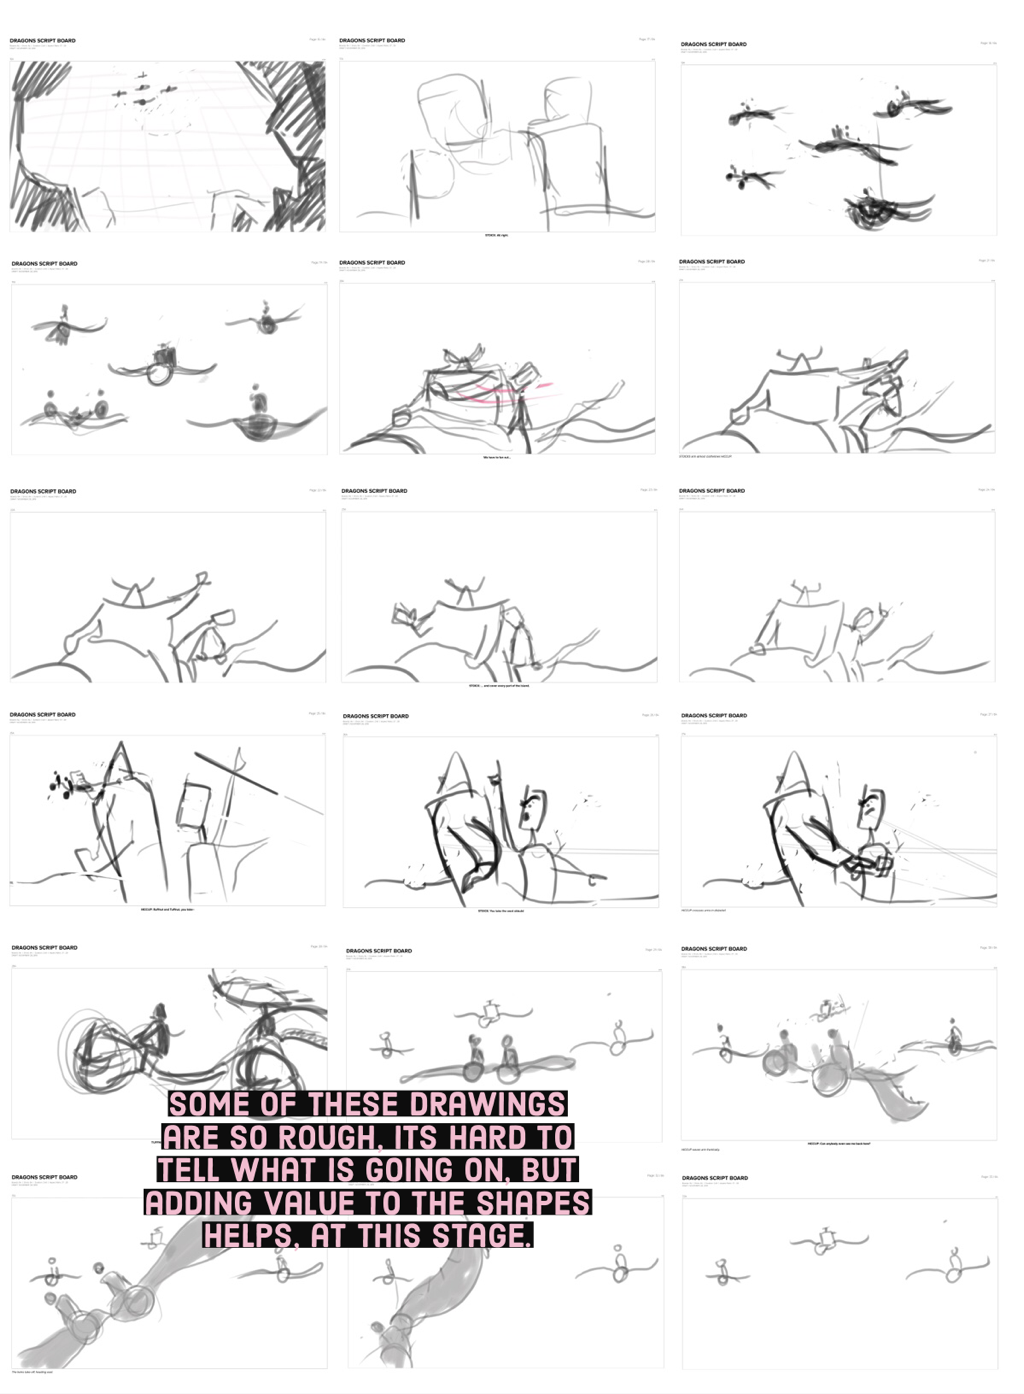
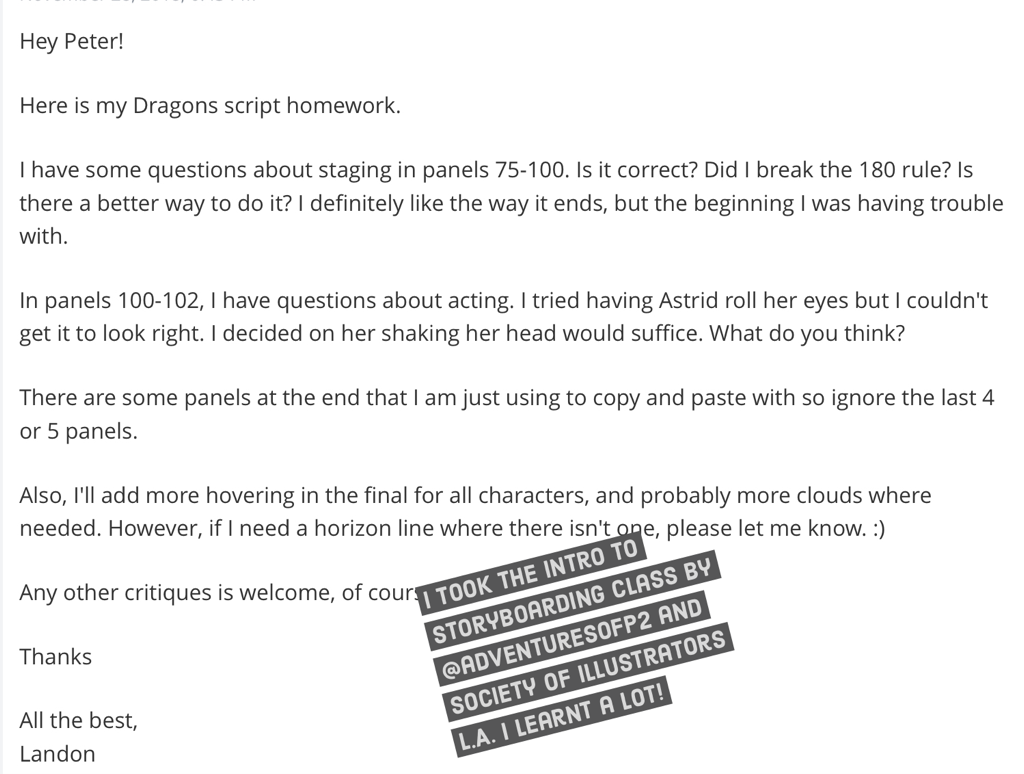
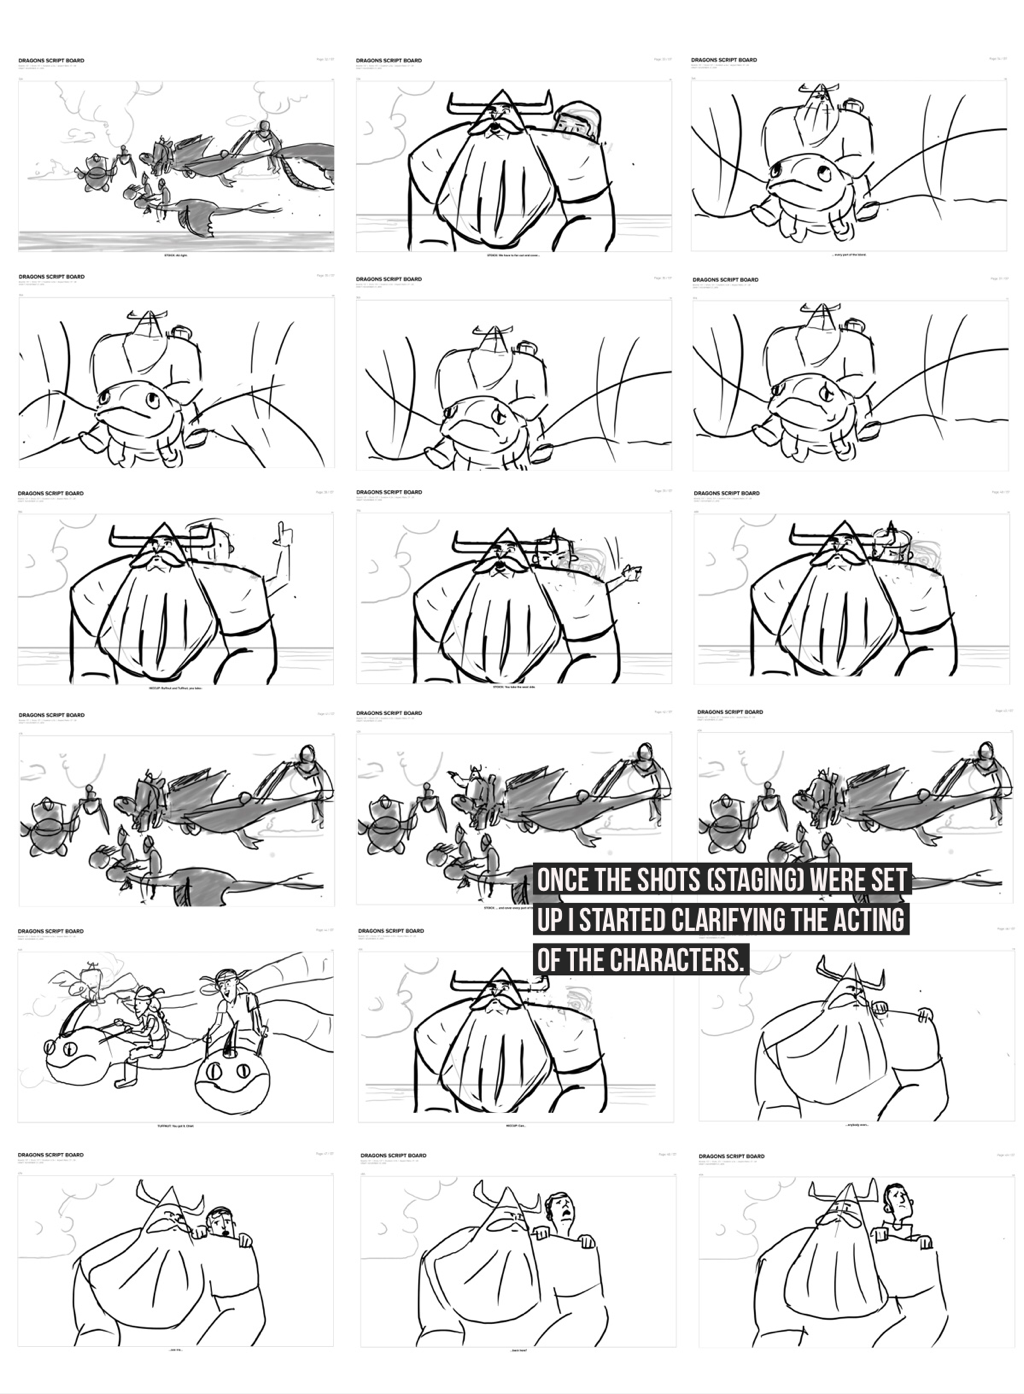
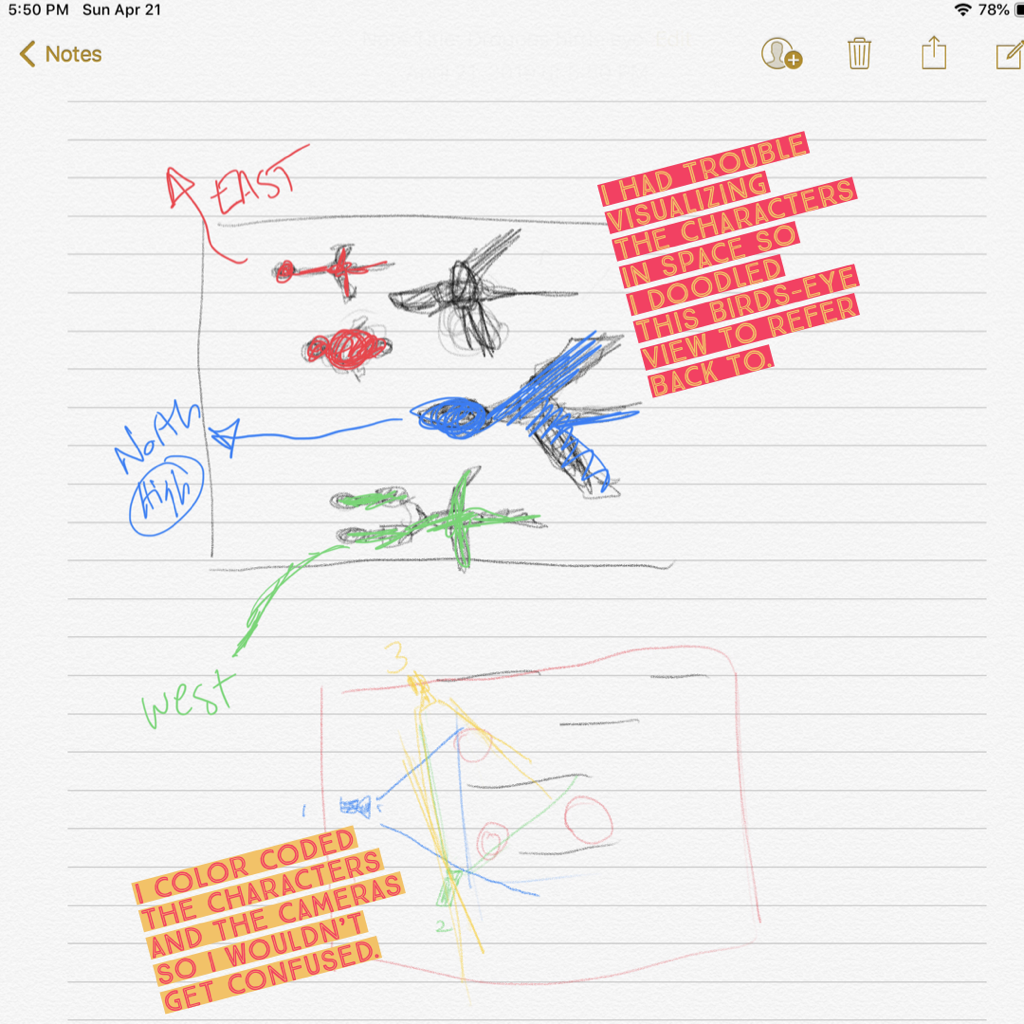
I used a free program called Storyboarder to make this board. 2 years ago it was unusable for me but recent updates have made the drawing more stable on my laptop so I decided to give it another try. (Click on the picture or here, to be taken to the YouTube video) I started with reading the script! When I read the script whatever popped in my head visually, I wrote down or drew a quick thumbnail so that I wouldn’t forget any ideas. One of the best features of Storyboarder is that it will Import a Worksheet. Above is a blank worksheet. This is where you can print out a template with about 15 panels on it. Then you can draw traditionally on it and then take a picture of it on your phone. It will separate out each thumbnail into its own panel automatically. It’s really cool. The idea is that drawing traditionally, and in such a small thumbnail size will let you get out ideas quicker. I did this! Except I turned it into a jpeg and put it into Procreate, so I could draw digitally on my iPad, lol. The DRAWING IS JUST SO GOOD on the iPad! I used a really large (Sharpie-type) brush so that I wouldn’t get lost in the details. This worked really well. I even tried zooming in for details but it was too pixelated! This kept me speeding through the panels. However, I may print it out next time and put Post-It notes where the panels are so that I can move groups of panels easily in the beginning. It’s quicker that way than copying and pasting digitally, especially in the Storyboarder program Once the thumbnails were uploaded to Storyboarder, I did another rough pass of the script on my laptop. Did I mention that this was a class assignment? Well it was, and I presented it to the class for feedback. Parts that “bombed” I took out and I wrote down any feedback. I went back and did the second pass and added more details. Drawing in Storyboarder on my laptop makes me feel like I am using a crayon in kindergarten sometimes. It’s not very precise and it’s evident in my drawings! I finished the second pass. It was still very rough, but the story was pretty clear. I presented it for feedback and took notes again. The third and final pass through these 100 panels was using Storyboarder again but I cleaned up everything in Photoshop. Storyboarder has a feature where it will open up any panel in Photoshop and sync any changes you make to the panel in to Storyboarder. Great huh!? Well unfortunately there’s a lot of lag but regardless, it did work. It did slow me down quite a bit though. What do I mean by “cleaning up?” I defined the backgrounds with value. I added clouds that moved. I added grids on the sea to define the horizon. I drew the characters expressions clearer. I added wings flapping and made it look like (some) of the characters were hovering in air (bobbing up and down slightly) Stuff like that. Admittedly, some of this was forgotten in some frames so don’t look closely, lol. Free is great, right!? Well on the whole, it’s a solid program but I find it’s support to be a bit lacking. It does get updated frequently but anytime I have an issue I have to go to the Facebook group and search or ask for support there. Often times, questions go unanswered by the group and Wonder Unit. Searching through old posts on Facebook is time- consuming and often times does not produce helpful results. Also, the program still doesn’t have layers. Technically, it does but they are named Ink, Pencil, Fill, Tone, and Reference. That’s it. You can’t add anymore and it’s difficult to copy and paste between them and other frames. (I honestly can’t figure out the Lasso tool and copy and paste functions.) I gave up and just did everything in Photoshop.
Despite these pains I do recommend you try Storyboarder if you are a student or cheap like me. It does a great job of organizing the images, action and dialogue. It will also export as an MP4, GIF, PDF, and some other file types. However, this was another place I felt it was lacking. I exported a movie and there was no dialogue. (That is just not an option) So I exported a GIF but then I had to convert it to an MP4 anyways so that I could do the timing. Admittedly, there is a way to do timing in Storyboarder but I honestly didn’t think about that until this moment, lol. You can download it at https://wonderunit.com/storyboarder/ It is for Mac OS and Windows. I use it on my Windows 2-in1 laptop. I’ll admit my laptop is a few years old now, but I added another 8 GB ram last year (16 GB total) so it has a lot of multitasking power. (Storyboarder was really the sole reason why I did this. It EATS UP MEMORY.) Unfortunately, my laptop is kind of an orphan. It’s a Sony Vaio and in 2015 Sony sold its PC division off. There is little to no support for this computer so it’s hard for me to place all of the blame on Storyboarder. Get out there and make YOUR magic. I look forward to seeing it. |
Landon R. WilsonWelcome to my blog. Archives
September 2019
|

 RSS Feed
